How to Build a Pallet Wall
From curbside to charming


Upcycling reclaimed pallets is a popular DIY trend because you can find pallets for free (or very inexpensive) and they provide a rustic twist to your space. A pallet wall serves as a focal point within the room, and you can stain or paint the boards to match almost any color scheme. Learn how you can complete this pallet project on a weekend to create a feature wall in your home.
Difficulty: Intermediate (2/5)
Building a pallet wall is an achievable DIY project for most homeowners. Deconstructing the pallets requires some elbow grease, but installing the boards is a fairly straightforward job.
Total Project Time: One weekend
Expect the project to take a full weekend between cleaning the pallets, painting the wall, painting the pallet boards, and the drying time.
Cost: Under $100
If you can locate pallets for free, expect to pay under $100 for the various tools and materials. If you need to purchase tools, or if you have to pay for the pallets, the cost will go up.
Materials
Pallets
Plywood (optional)
Paint or stain
Painter’s tape
Bleach
Dishwashing detergent
Sandpaper
Nails
Tools
Measuring tape
Heavy-duty work gloves
Circular saw (optional)
Paint roller brush
Paint tray
Hammer
Pry bar
Pressure washer or garden hose
Spray bottle
Sponge
Safety goggles
Sawzall or jigsaw
Orbital sander
Angled paintbrush
Stud finder
Nail gun
Level
How to Build a Pallet Wall in 8 Steps
Learn how to build a reclaimed wood wall to create a charming (and inexpensive) feature wall in your home using this guide.
1. Find the Pallets
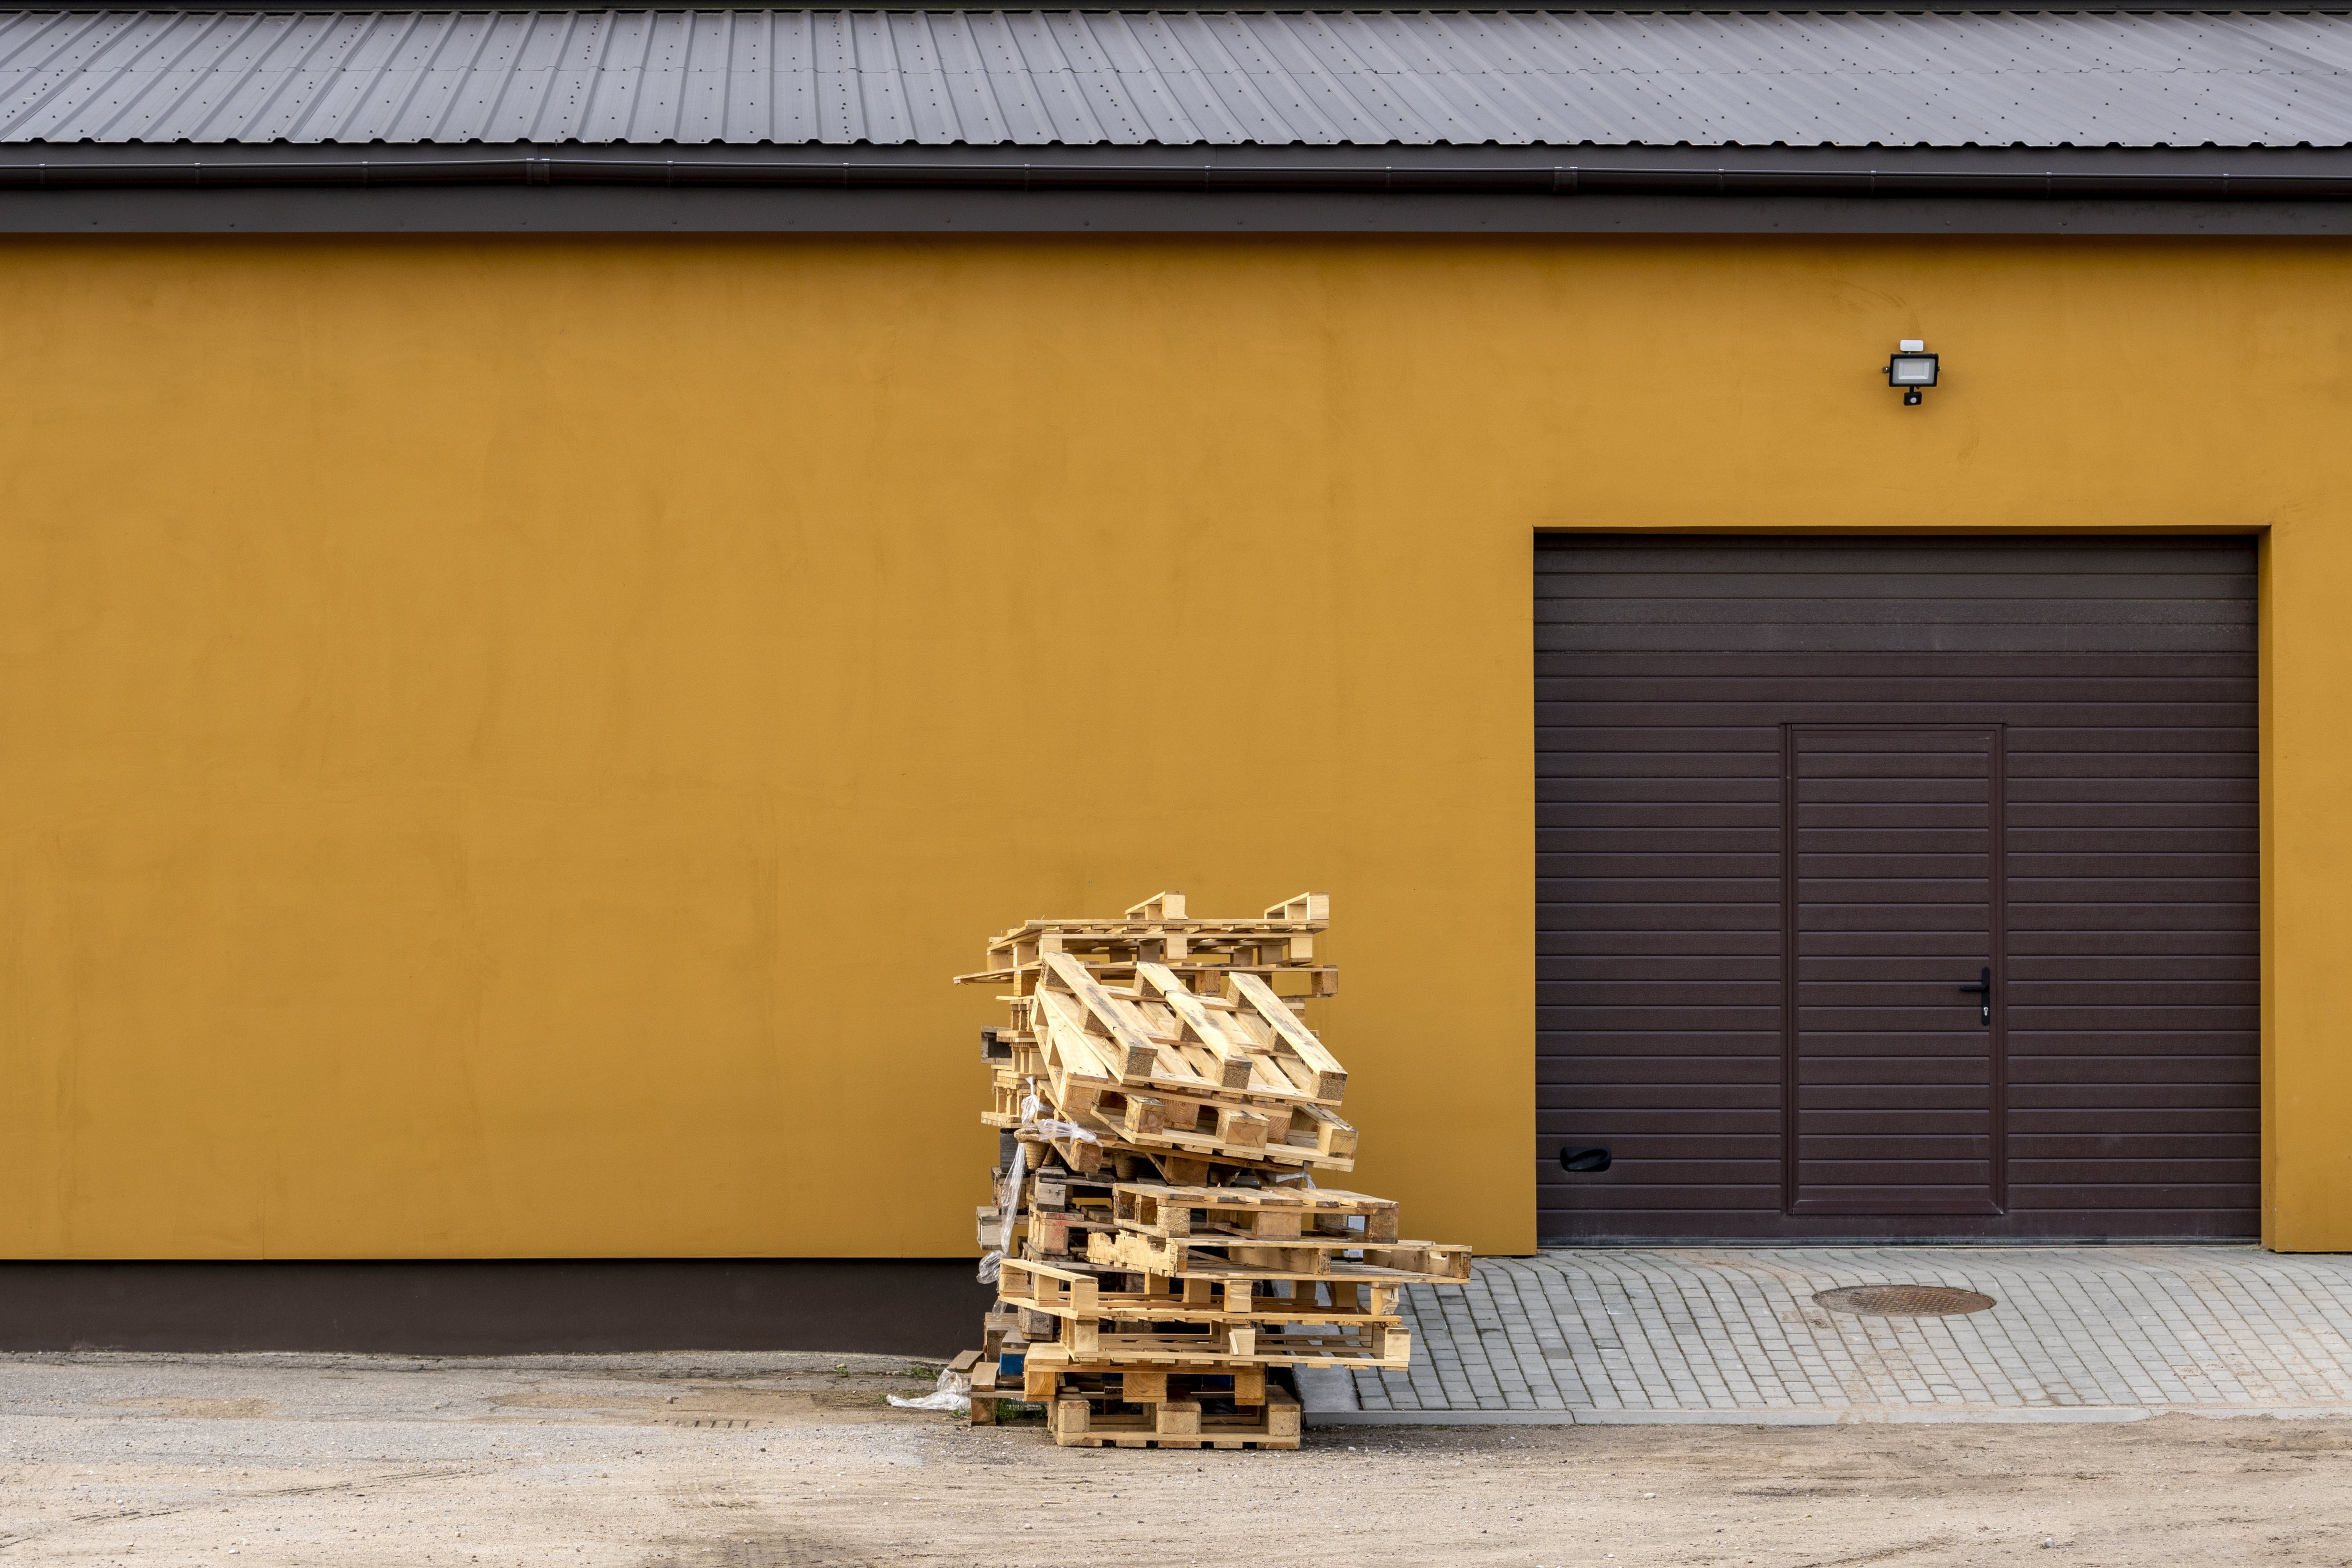
Before you search for pallets, take measurements of the wall so you know how many square feet you need to cover. Locating the pallets sometimes requires trial and error, as not all businesses have them readily available. Look for pallets at factories or large retailers, keeping in mind that big box stores may have their own process to dispose of them. You may need to call around before you find ones that are available for the taking. Check your local marketplace as well to see if anyone is giving them away. Remember, if you drive by a store with pallets next to a dumpster, always ask the manager’s permission to be safe.
Once you locate pallets, pay close attention to their markings. Heat-treated pallets are the best option for indoor use, as they sterilize the wood with high heat rather than chemicals. These pallets will be marked with a stamp that says “HT” to indicate they were heat treated. Avoid pallets with an “MB” (Methyl Bromide) stamp, as this indicates they were treated with chemicals and can emit toxic fumes.
Pro Tip: The pallets will likely have nails or splinters sticking out, so be sure to wear heavy-duty work gloves and cover the interior of your car when transporting them.
2. Paint the Back Wall
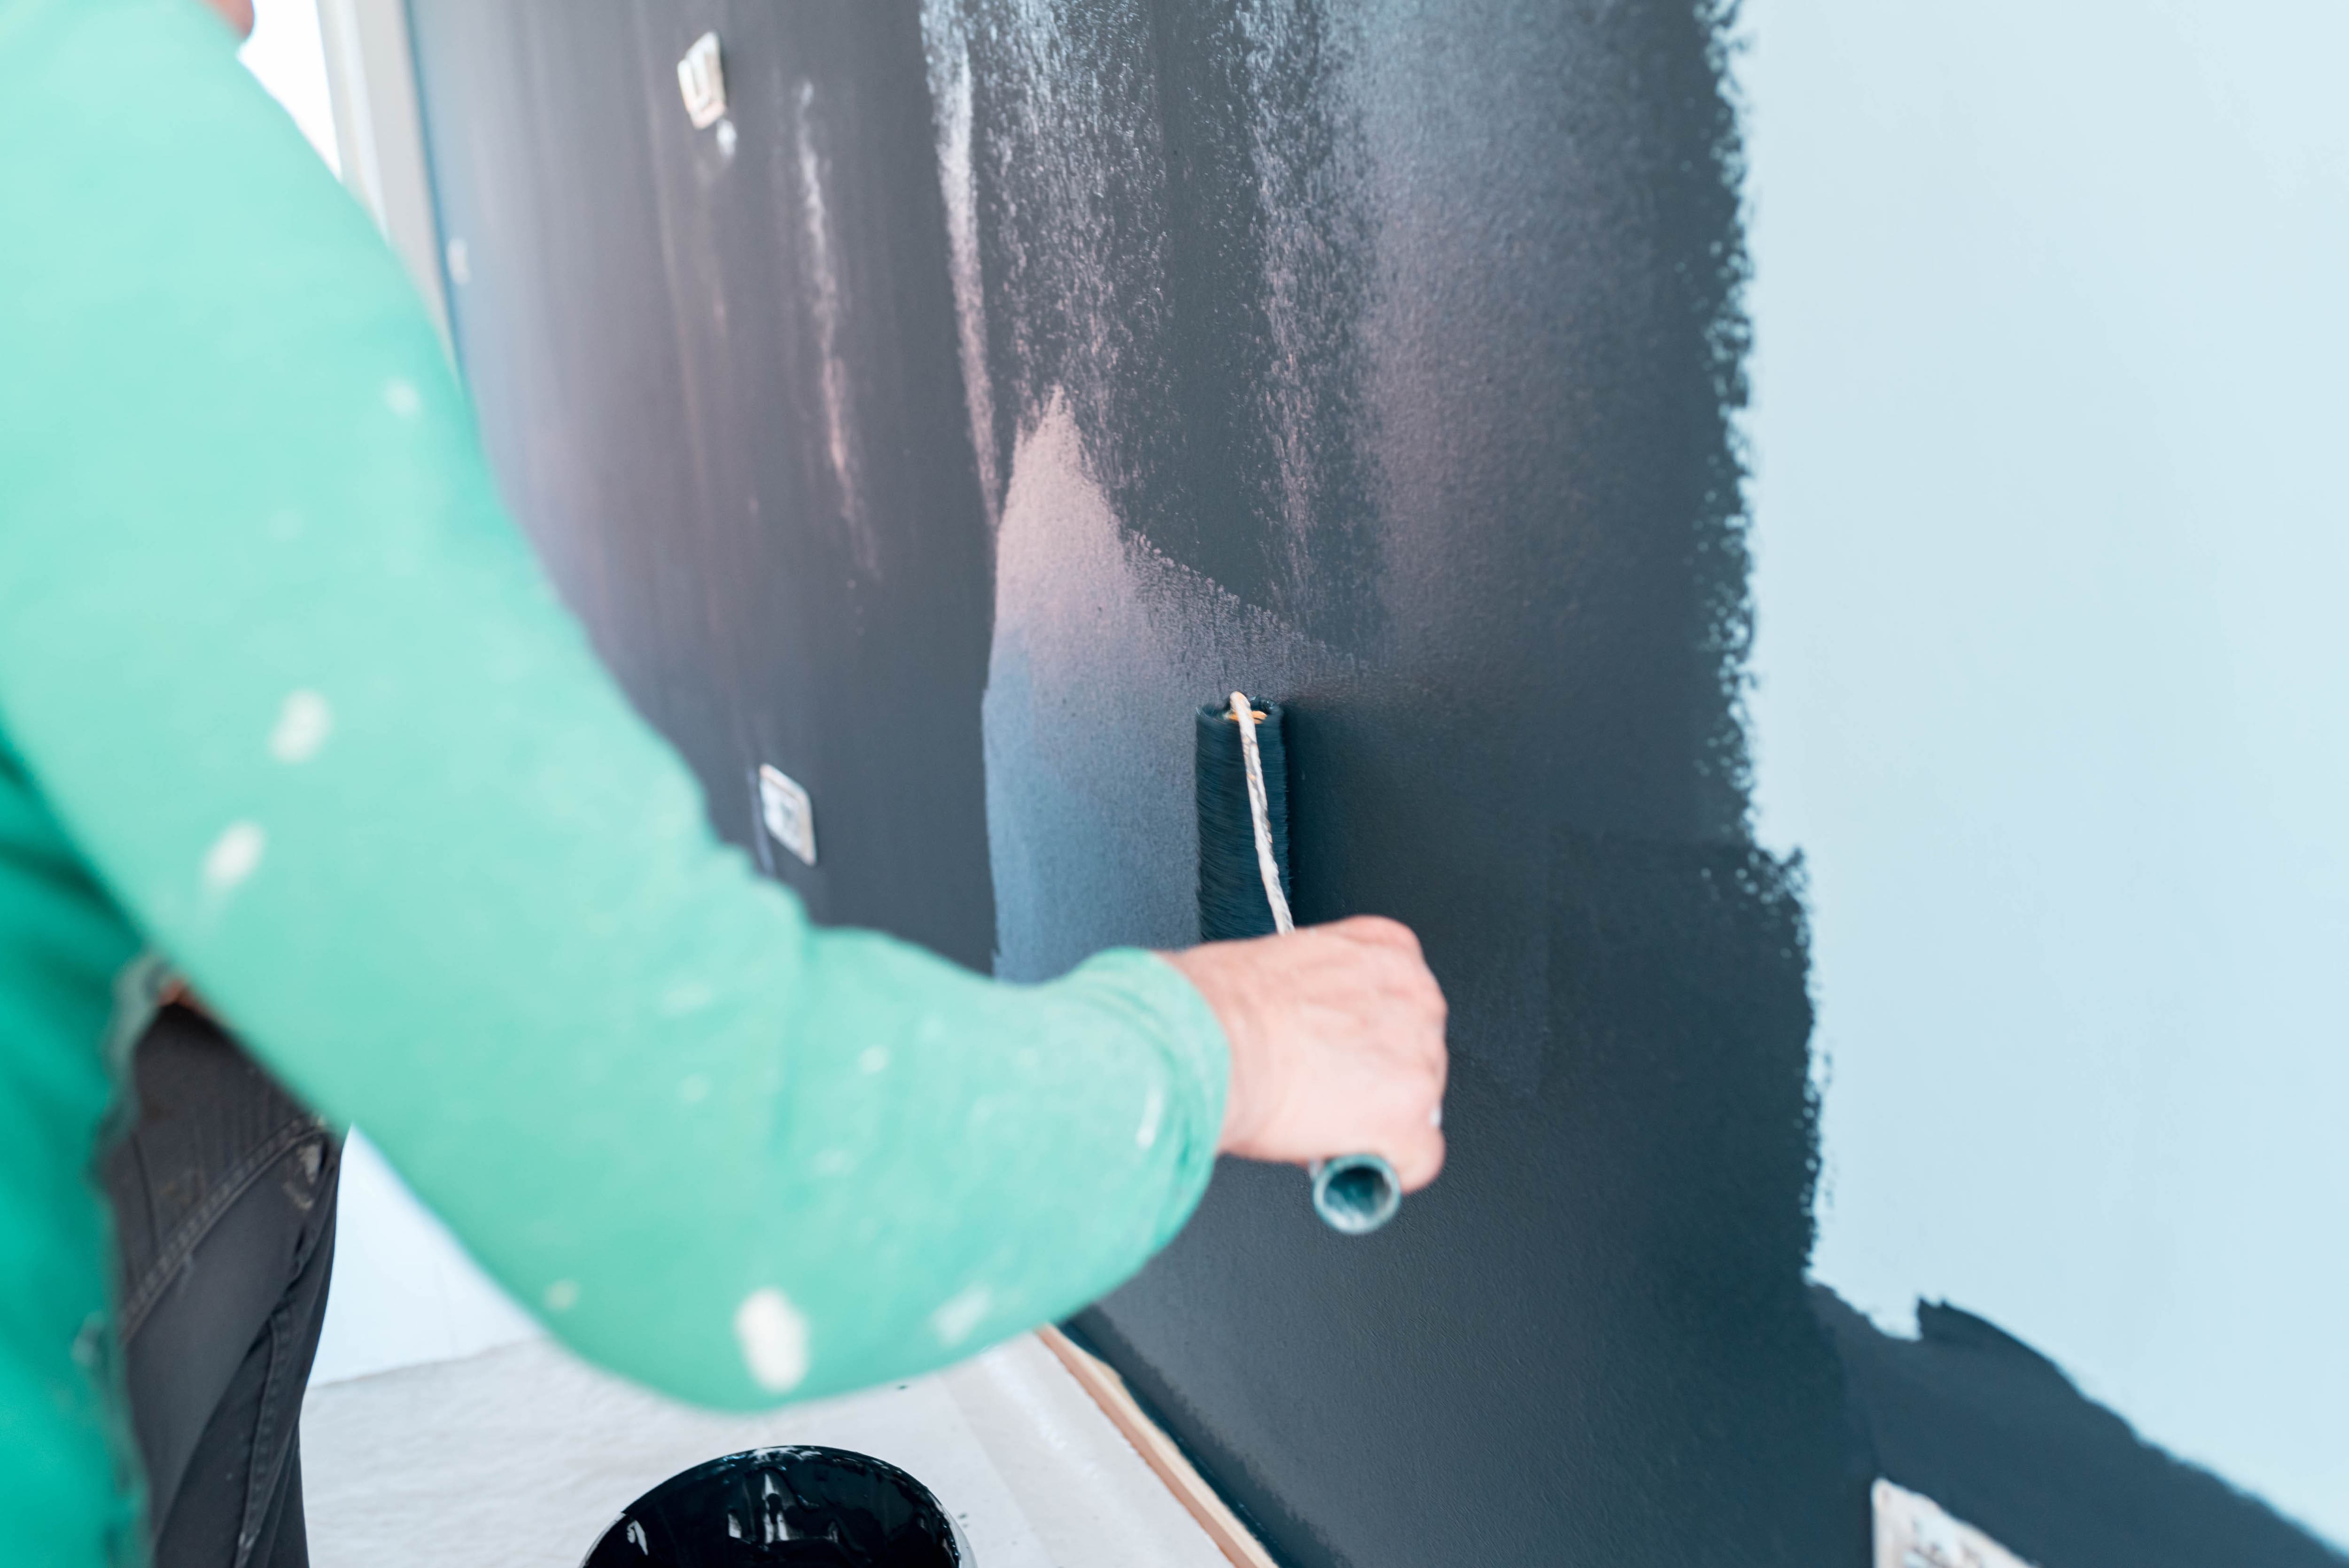
Because the pallet planks are imperfect, there will inevitably be gaps between the boards when you install them. Therefore, painting the wall a dark color is a good first step before hanging the boards. Opt for a dark gray, dark brown, or even black, keeping in mind the color or stain that the boards will eventually be.
Start by affixing painter’s tape to areas in the room you want to avoid transferring paint to, such as ceilings, moldings, door frames, and outlets. Then, using a paint roller brush, apply the paint to the wall in an even coat. Allow the paint to dry completely before attaching anything to the wall.
Plywood option: You may choose to attach plywood to the back wall before installing the boards to avoid the need to fill in nail holes if you decide to take the wall down in the future. Start by cutting the plywood to size using a circular saw and use a nail gun to attach it to the wall studs. Then paint the plywood a dark color before installing the planks to hide any gaps or crevices.
3. Clean the Pallets
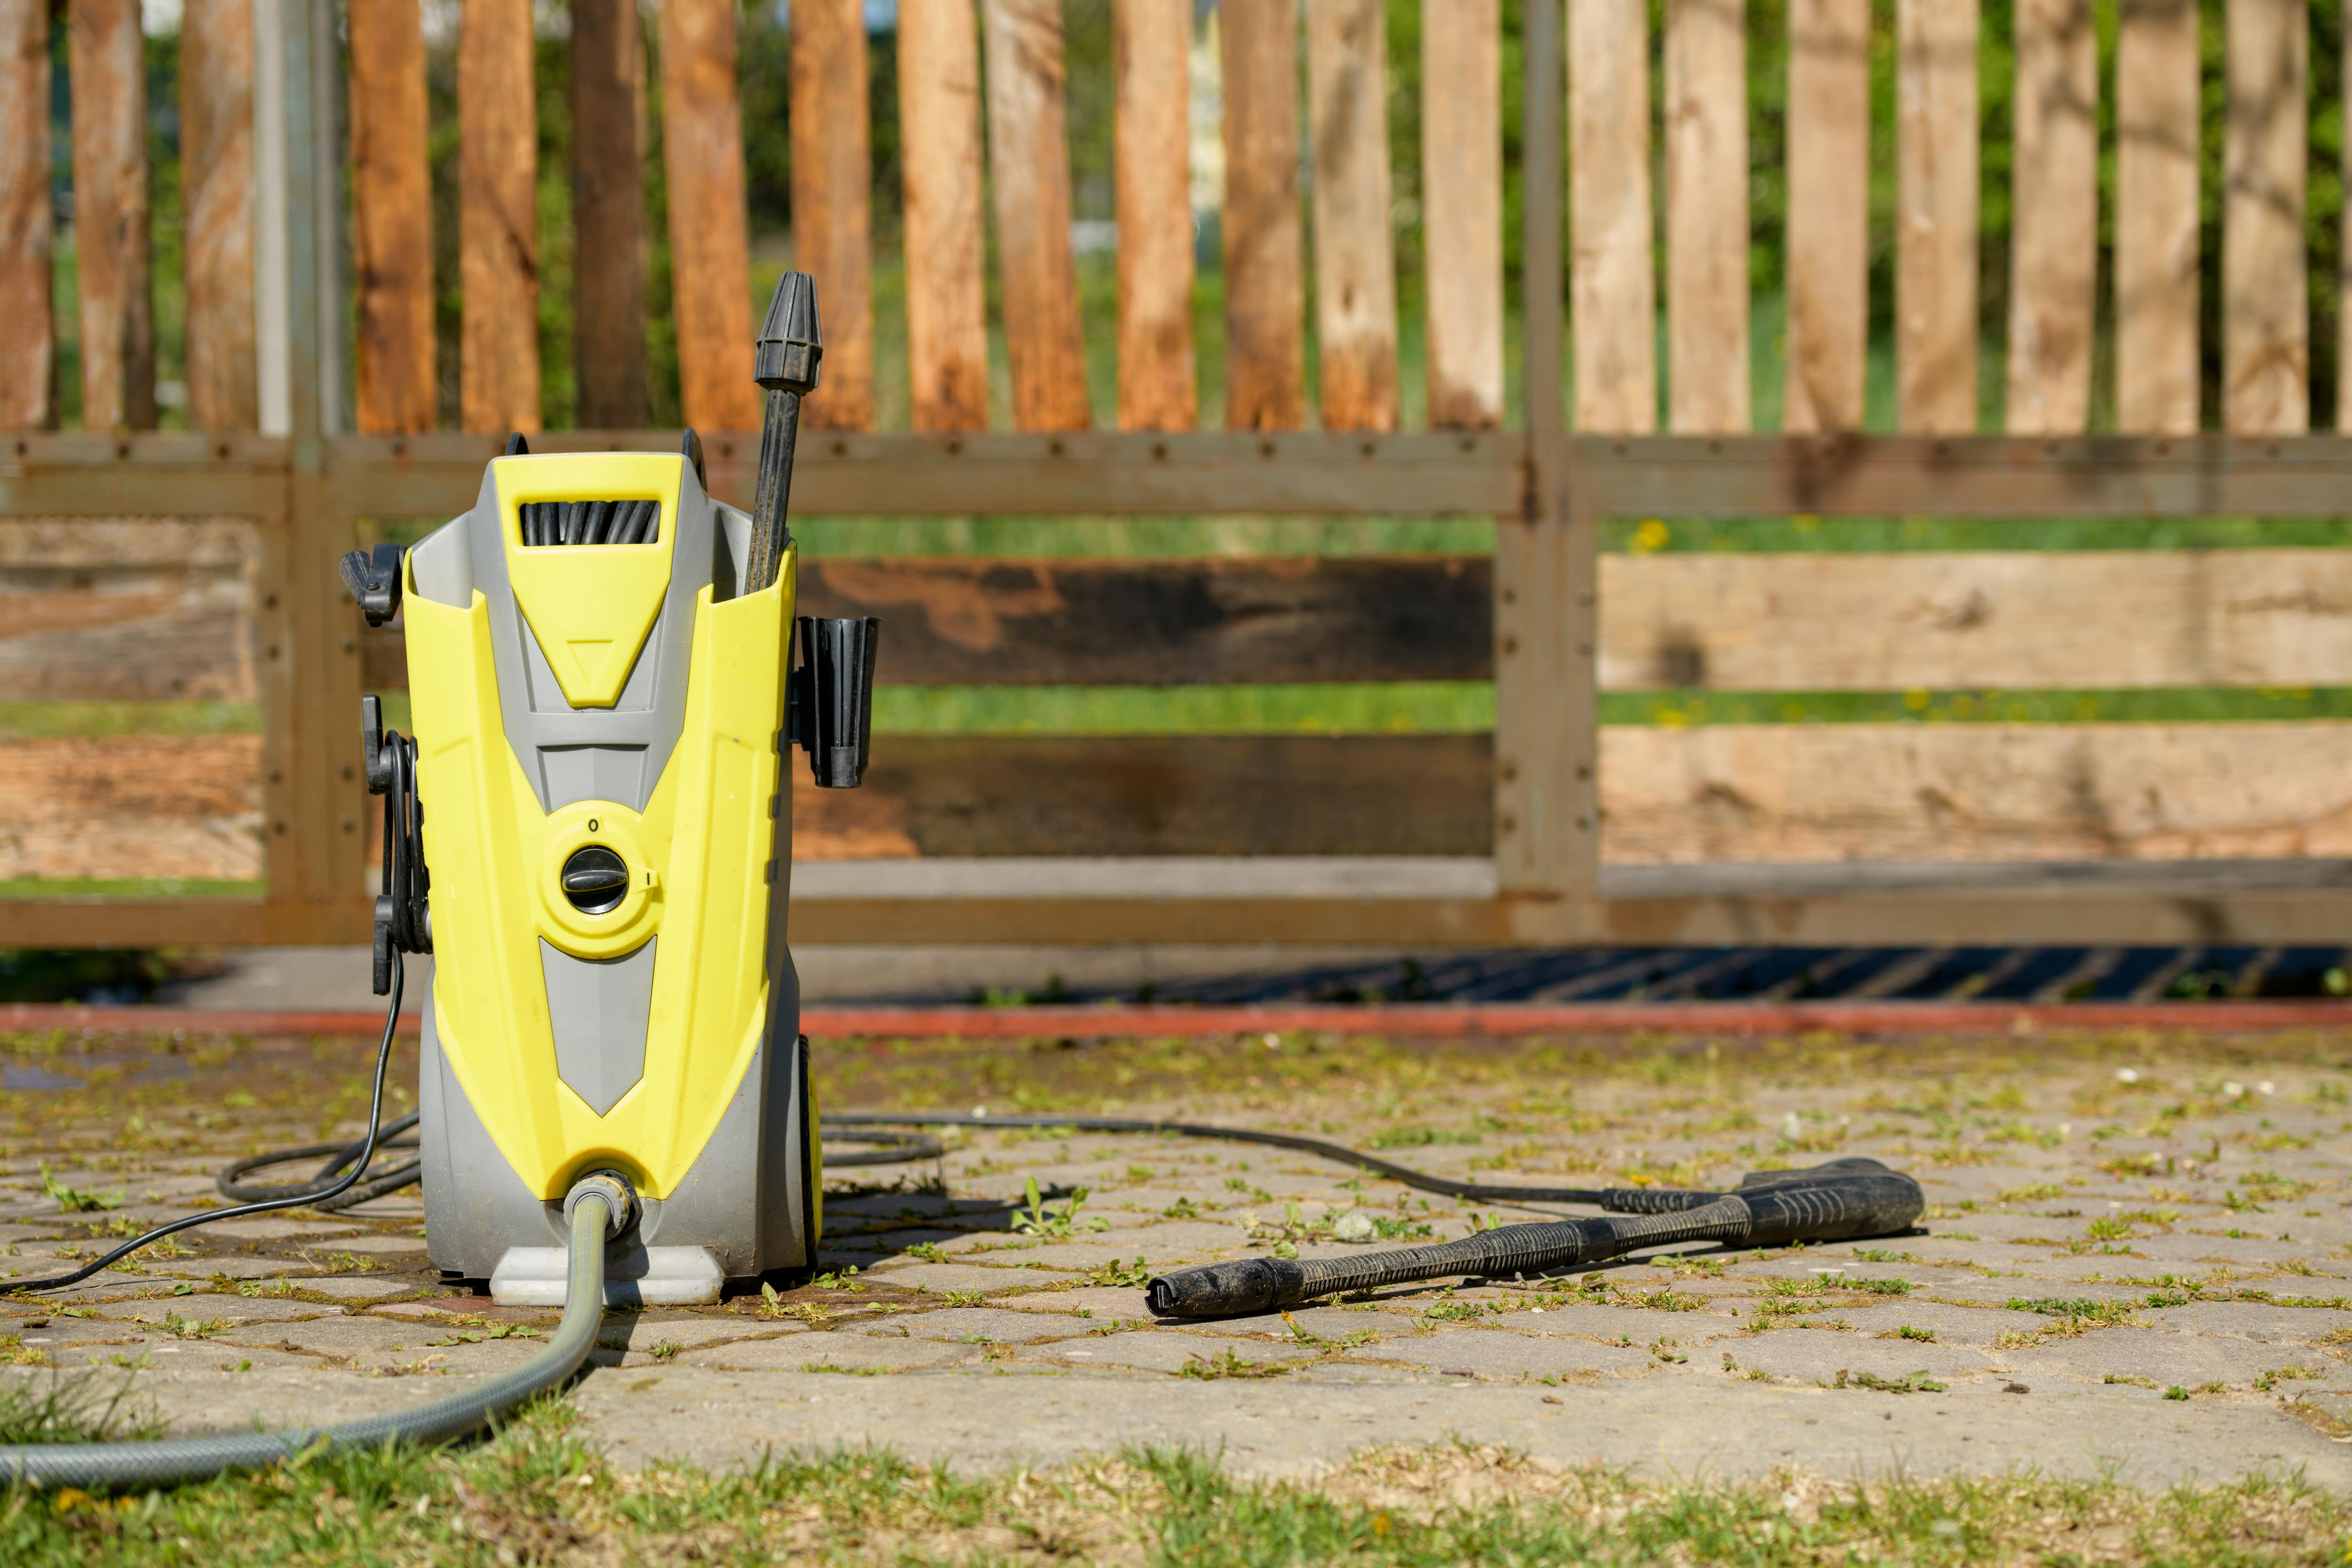
Before bringing the pallets indoors, clean them with a homemade mixture to remove any dirt, debris, or insects. To make the cleaning spray, mix water, bleach, and dishwashing detergent in a spray bottle. Spray the wood with the mixture and rinse it off with a pressure washer or garden hose. If you notice particularly soiled areas, you may need to scrub them with a sponge and soapy water, then rinse again. Allow the pieces to fully dry in the sun, if possible. This will thoroughly dry out any damp spots and UV rays will further sanitize the wood.
4. Deconstruct the Pallet
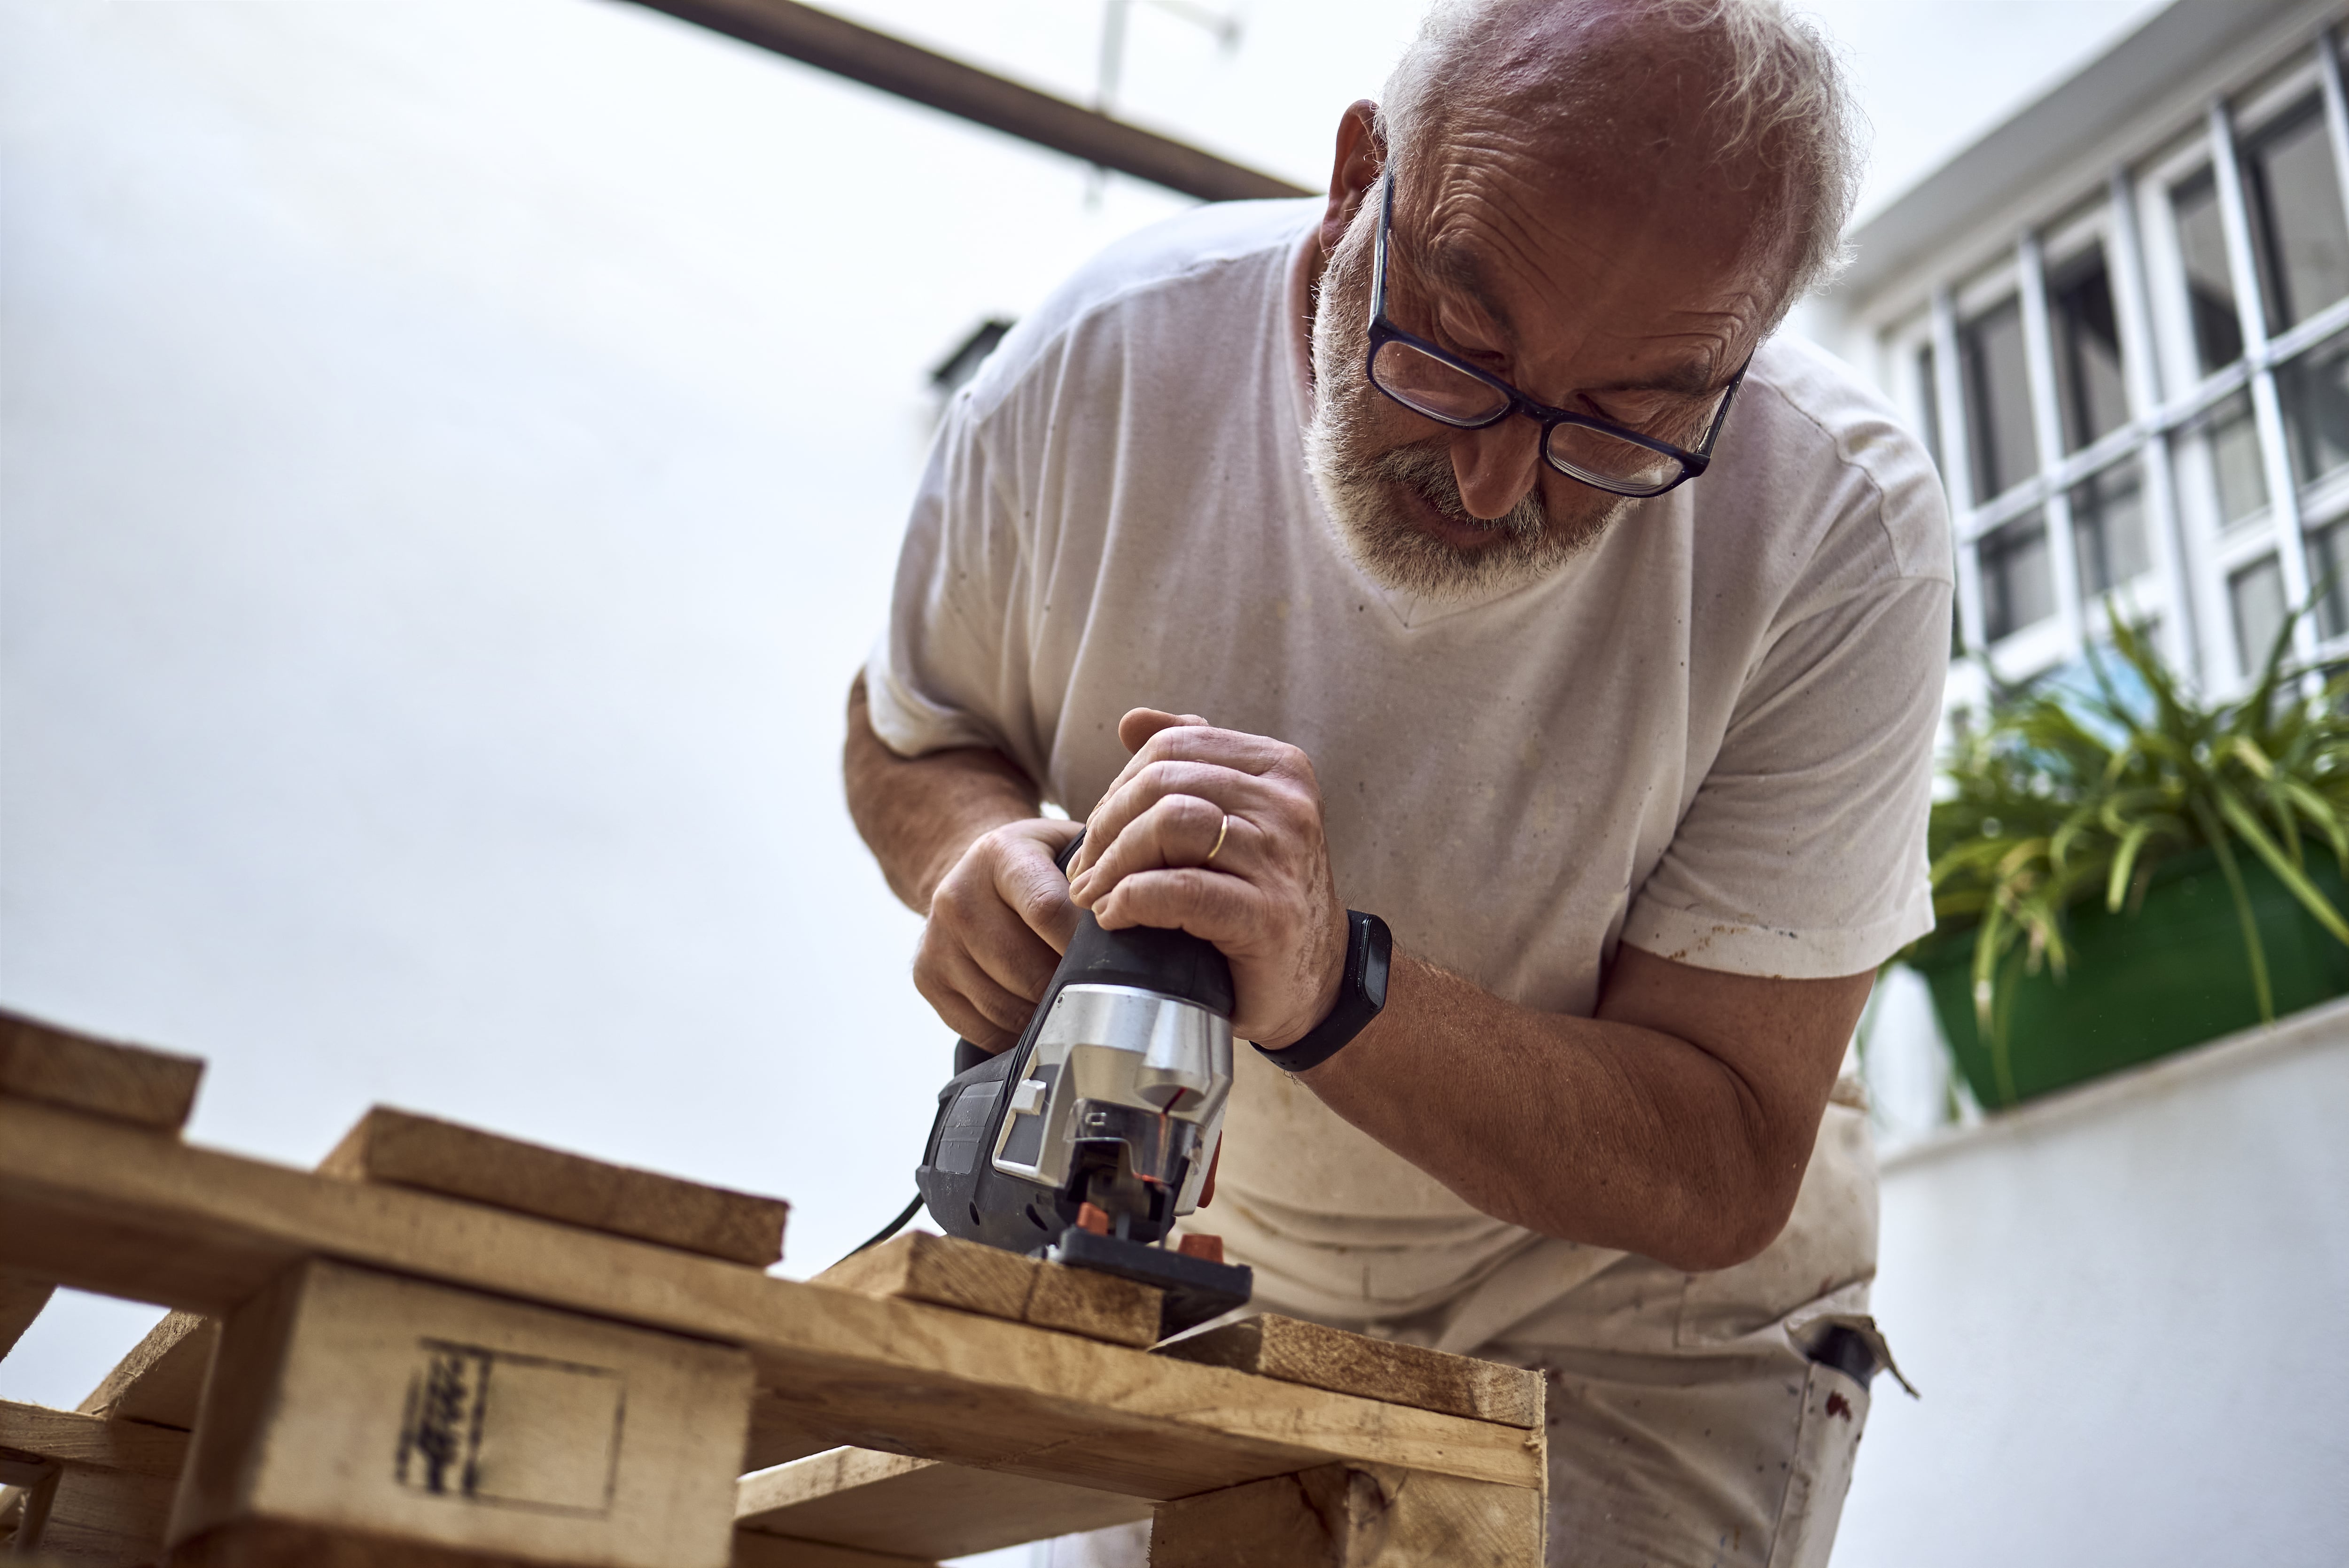
Once the pallet has fully dried, it’s time to remove the wooden planks from the base of the pallet. Start by taking out any protruding nails with the claw end of a hammer or a pry bar. Then, holding the board at an upright position, cut the board from the frame using a sawzall (reciprocating saw) or a jigsaw. It’s important to wear safety goggles during this step as material can fly up from the pallet. When you’re using this method to deconstruct the pallet, keep in mind that the nail heads will still remain in the boards, and will be visible once you affix them to the wall.
If you don’t like the look of the visible nail heads in the reclaimed wood, you can try to remove the boards using a crowbar. However, this method can take longer and some of the boards may split if you hit a weak point. You can also use the sawzall to cut the board away from the frame where it’s nailed into place, but the boards will be shorter doing it this way.
5. Inspect and Cut Boards to Length
Lay out the boards and inspect them for quality, removing any overly warped or damaged boards from the pile. You may notice variations in color and texture. If you want a more rugged look, you might choose to use most of the planks, despite noticeable differences in their appearance. However, if you want a more uniform wall, you might take out planks that are more weathered.
After you have chosen the boards you will use, cut them into various lengths to have an organic look once installed. Also, keep in mind any windows, door frames, heat registers, or outlets on the wall and take measurements, marking the boards with a pencil. Use a circular saw to cut the boards to the desired length.
6. Sand the Boards

After the boards have been removed from the pallet, use an orbital sander to smooth down the surface and take off any remaining debris, splinters, and paint. Start with coarse-grit sandpaper first (40–50 grit) to remove initial nicks, splinters, and stains, working with the grain of the plank. Then, switch to finer grit sandpaper (80–100 grit) to achieve your desired texture. Remember to also sand the edges of the planks where you made cuts for a smooth finish.
7. Paint or Stain the Boards

Now that the surface of the boards is smooth, you can apply the paint or stain. When choosing a color, keep in mind the overall look you’re trying to achieve. If you want more variation, choose a few different stain colors. You can even pick a few boards to paint an accent shade to add a pop of color to the wall. Conversely, if you prefer a more orderly appearance, you can stain all the boards the same color.
Dip an angled paintbrush into the can of paint or stain, and apply it to the boards in an even coat, working with the grain of the wood. Once the first coat has dried, apply a second coat and allow it to fully dry.
Tip: You can distress the boards after the paint has dried by lightly sanding the surface to expose some of the material, creating a more weathered look.
8. Attach the Boards

After the boards have fully dried, you can attach them to the wall. Locate the wall studs using a stud finder, and mark them with a pencil or painter’s tape. Starting at the top of the wall, install the first board, making sure the initial planks are level. Using a nail gun, hold the pallet flush against the corner of the top of the wall and attach the board to the studs. Line up the next horizontal board and fit it against the preceding board, nailing it into place.
Continue until the first row has been installed. For the next row, stagger the boards so the seams don’t align with the preceding row, and continue in this pattern. As you work your way down, be sure to use a level every few rows to ensure the boards are straight. Continue placing the boards on the wall in a staggered, random arrangement for the most natural-looking appearance.
Pallet Wall Ideas
Use the boards to create an accent wall in a living room or any other space that could use a focal point.
Stack the boards above a fireplace, beginning at the mantle, working your way up to the ceiling.
Create a pallet wood wall in the basement to cover outdated paneling.
Place the boards vertically for a twist on the traditional pallet wall.
Choose a wall at the end of a hallway and frame black and white artwork or family photos on it.
Hang the planks behind a TV and install floating shelves next to it to showcase decorative pieces and souvenirs.
Add the pallets on a ceiling to draw your attention upwards.
Install iron hardware or light fixtures on the wooden pallet wall for an industrial farmhouse look.