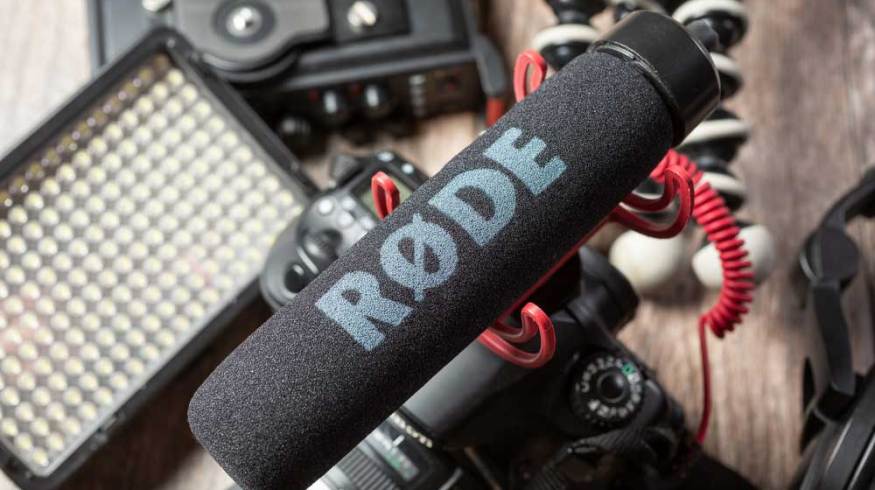
The RØDE VideoMic Go Audio is Terrible: Here’s How to Fix it
You should probably purchase a different microphone. However, these steps can help you fix your RØDE VideoMic Go audio.
On a recent expedition to the outside world, I brought my camera with me and decided to shoot a video. Instead of bringing my trusty Zoom H1n recorder, which I typically mount on my Canon M50 to record audio as an external mic, I brought my RØDE VideoMic Go. It was a bad idea.
The Zoom H1n has one fatal flaw: it uses two AAA batteries, and I didn’t have any. After several instances where the Video Mic Go failed me, I hadn’t used it for a while, but I decided to give it another shot. I thought that anything would be better than the M50’s onboard mic—I was wrong.
If you’ve made the same mistake and heard the loud clicking noises in the audio as I did, then you’re in the right place. Entirely removing or silencing loud clicking noises may not be possible, but you can still do plenty to reduce other unwanted noise.
The Issue
The VideoMic Go is a condenser mic, which explains why it picks up so much noise. Condenser mics are known to be very sensitive, but something about the VideoMic Go takes it to an extreme. In many clips I’ve recorded, I can clearly hear hissing or the sounds made by my air conditioner or computer fans. The only way I could fix it was to switch the M50’s audio levels to manual and set the levels to twenty-five or less. It wasn’t a fix so much as a compromise.

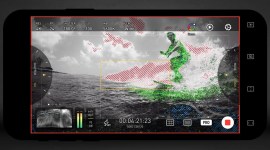
A few weeks ago when I went out to shoot video, I set the audio to auto, hoping that shooting in louder outdoor spaces and shops would drown out the hiss. The M50 doesn’t have an audio output, so it’s impossible to check audio levels while recording. So, with my mask properly secured and my eyes scanning for complimentary hand sanitizer dispensers, I shot a ton of clips.
When I sat down to edit on my iPad Air (4th gen), using LumaFusion for the first time, I immediately noticed the audio sounded terrible. Not only could I hear a hiss, but it also had this loud clicking that persisted throughout almost every video. This stable cadence of the clicking noise drowned out the audio, making it unusable for the most part.
As a first-time user of LumaFusion, it took me some time to figure out how to edit audio. However, I still couldn’t save it. Although LumaFusion is a fantastic mobile video editing app, it doesn’t have the best tools for fixing audio. Ultimately, I couldn’t fix the recorded audio, so I just threw a song on the timeline and muted most of the audio as a Hail Mary.
You can still hear the clicking in some sections, but it is what it is. I learned my lesson, so I’ll devote the rest of this article to explain how you can prevent it from happening, and how you can fix it.
The Vindication
I’d used the RØDE VideoMic Go before, but I’d never experienced that distinct clicking noise. To look for answers, I did what I always do when I need to feed my curiosity: I searched the internet and found that I was not alone.
Michiel Sikkes, whose blog I found during my search, had the same camera and microphone as me. And, what’s more, he had the same problem. You can listen to his audio in the video below, which sounds just like mine.
The noise, he writes, is caused by wireless signals, such as those from Wi-Fi and Bluetooth devices, which other people on the internet have said, as well. If the VideoMic Go comes bundled with your camera, avoid it like the plague. This is not an indictment on RØDE’s whole product line, as the VideoMic Pro and VideoMicro are highly-praised microphones. Still, the VideoMic Go is the ugly duckling of the bunch—without the part in which the ugly duckling realizes it’s actually a swan.
Although it’s best to stay away from the VideoMic Go, I understand using it if it’s the only mic you have. While it’s best to upgrade when you’re able, there are some things you can do to the mic (or in post) that can fix the audio quality.
The Solution(s): Before Hitting Record
Turn off Wireless
Apart from not using the mic, the first thing you can do is turn off any wireless features on your camera, which might mitigate the problem. However, the mic may still pick up wireless signals from nearby phones, computers, tablets, and any devices that use Wi-Fi or Bluetooth. Unless you’re shooting off the grid in the most remote of locations, you’ll keep experiencing this problem. One drastic solution involves a household item better known for lining a baking sheet.
Use Aluminum Foil

Wrapping your microphone in aluminum foil sounds like a crazy idea, but it can work. Because the loud clicking noise is caused by wireless frequencies emitted by Wi-Fi and Bluetooth devices, you’ll need to wrap the mic in foil. It’s not pretty, but this solution can stop wireless signals from interfering with your mic. This solution can stop the clicking noise in your audio, but it’s not a miracle cure for every audio problem. You’ll most likely still experience hissing and other unwanted noise.
Adjust Audio Levels
You can also adjust the audio levels on your camera, which may vary by camera. On my M50, I can set the audio to manual and adjust the levels so that the mic doesn’t capture any unwanted noise, but it may lead to much softer audio that you’ll have to boost in post. To be clear, this won’t completely fix the issue, but it’ll make hissing and unwanted noise less prevalent overall.
Use a Lavalier Mic
Another low-cost solution is to use a cheap lavalier plugged into an external recording device. This budget-friendly $15 Movo lav mic is a good option, and you can plug it into your phone—phones without a 3.5mm jack will need an adapter—to record audio. I have this mic, and it works well. It’s small, affordable, and an easy way to capture clear audio. While lavs are not meant to capture ambient audio or faraway subjects, they’re exceedingly useful for interviews, vlogging, and talking head videos.
The Solution: After Hitting Record
If the above steps do not remove the clicking, hissing, or unwanted noise, there’s more you can do to fix the audio. Video and audio editing software can help reduce noise and other audio issues. While removing or silencing unwanted noise may be easier with software, removing clicking noises won’t be so easy. Trust me, I’ve tried it.
Below are some steps you can take in post to fix your audio or get it to a state where it’s not painful to listen to.
Reduce Noise Using Editing Software
Adobe Premiere Pro
Most video and audio editing software have some form of a noise reduction feature. Applying noise reduction varies by software, but it’s straightforward. As always, Adobe users have a myriad of tutorial videos to follow, some of which are made by our very own team. Logan’s video below is easy to follow along with (and comes with a text version too). You can also check out Rubidium’s video on removing unwanted noise if you want a more in-depth look. Both video tutorials should help you get rid of unwanted noise in Premiere Pro.
DaVinci Resolve
I mainly use DaVinci Resolve to edit video these days, and it’s free to use. Sure, some video effects are locked behind a paywall, and it’d be nice to use hardware-accelerated rendering. But the free version still has almost everything you could want. Resolve is known for color grading, but it also has robust sections for cutting, editing, special effects, and audio. With Fairlight, users can also remove unwanted noise.
To apply Noise Reduction to clips:
- Click on the Fairlight tab.
- Open up the Audio FX sidebar located within the FX library.
- Select Noise Reduction and drag it to the clip.
- Pick a quiet section in the clip where you can only hear the noise.
- In the Noise Reduction window, click the Learn button and let the clip play through the clip’s quiet section. The software will automatically remove the noise in the rest of the clip.
- Adjust the various knobs to get the sound where you want it.
- Exit the window to apply the effect.
This easy fix will eliminate most unwanted audio, but you’ll want to play with the different knobs to get the cleanest audio. For more details and other steps you can take to fix your noisy audio in DaVinci Resolve, YouTuber Jason Yadlovski has a great video tutorial—watch it below.
I used Resolve to try and fix the audio from the clips I shot a few weeks back, but the clicking was too much trouble to fix. I was able to lessen the severity of the noise, but it was still painfully clear. However, using Resolve to remove unwanted noise works well.
Digital Audio Workstation (DAW)
Editing the audio in a DAW is another way to fix your audio, though you will have to import the audio and export it back onto your video timeline. Adobe Audition, Pro Tools, Logic Pro, and Hindenburg are all exceptional options for removing noise from your audio, but there’s one free software that’s worth checking out.
One of the most beginner-friendly and affordable DAWs to use is Audacity. This software is free to download and use. I’ve used this incredible software for years now, and I’ve even written about it before on this website. Luckily, Audacity makes it easy to reduce noise. Not to mention, Audacity also made it onto our best podcast recording software list and our list of best free audio editing software.
The Resolution
I’m keenly aware that great gear alone doesn’t make you into a great videographer. However, in this case, throwing money at the problem might be your best option. There are plenty of sub-$100 external mics out there for your camera. Camera gear is expensive, and, especially for those just starting, the cost can be prohibitive. While the best gear for the job sometimes costs the most, I’m a huge proponent of buying gear that gives you the most value for your money.
For vlogging and talking head YouTube videos, you don’t need a $300 Shure SM7B hooked up to your camera via an XLR cable. All you need is an affordable mic that can get the job done. Almost any mic is better than the onboard camera mic, and I have a few recommendations.
The $40 Movo VXR10 is beloved by YouTubers for its low price and great quality, and it’s far cheaper than the VideoMic Go, a terrible microphone that costs $100. The $60 RØDE VideoMicro, which the Movo VXR10 borrows from heavily, is also a perfect option. Another mic that seems to have impressive reviews is the $90 Deity V-Mic D4 Duo. The Duo can even capture sound from both the back and front by toggling a switch—it does this by recording the front and back on separate channels.
Finally, the Zoom H1n, loved by musicians, journalists, and videographers, is a versatile, portable piece of kit that will grow with your skill. You can use the Zoom H1n as an external mic and mount it onto your camera via the 1/4” twenty-thread, or use it with a lavalier to record an interview subject or yourself. You can also use the mic to capture ambient audio or use it as a handheld microphone.
With an SD card slot, you can store dozens of hours of audio and play it back at any time via the device. I love my H1n, and it’s what I take with me anytime I’m shooting video. Just remember to put some fresh batteries in it, or you’ll wind up using a back-up mic that’s not as good.
The Hard Sell
Though we sometimes want the best, most expensive gear, there are plenty of other affordable options out there. And, if you’re thinking of using the RØDE VideoMic Go in the meantime, try out the steps above.
But, if your audio is beyond repair, throw a song on the timeline and let it drown out the noise. Head to Premium Beat’s music section and check out the royalty-free song catalog. You can sort by mood, genre, and instrument to find the perfect song for your video.
Cover image via David Tonelson.
For additional audio tips and advice, check out these articles: